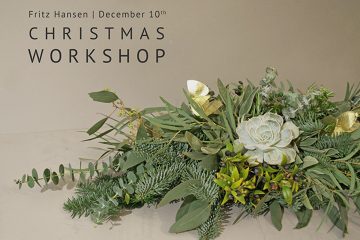
Recently I hosted a Christmas Styling Workshop at the Scandium on Marylebone High Street. My partner in crime and fellow hostess was Interior Designer Mathilde from MK Workshops. The goal of the day was to help participants create the perfect winter wonderland this Christmas season in their homes.
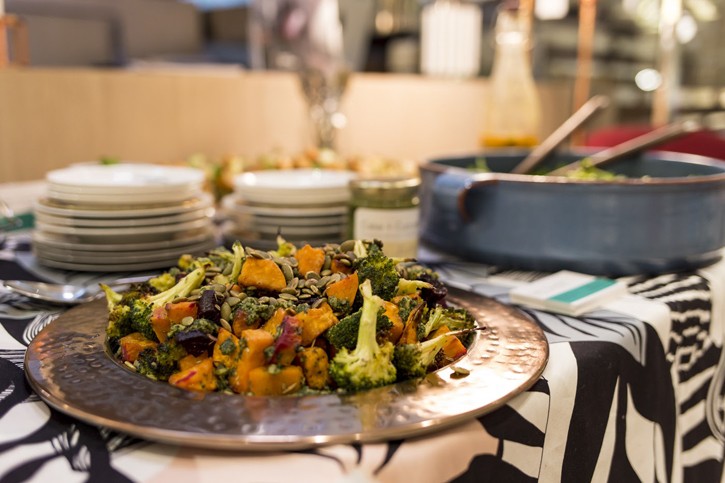
As we settled into the space with mouth-watering Grogg in hand and crunchy snacks piled high on our plates, Mathilde began to speak about her Christmas decoration guidelines. Here are some of her great tips:
1. Less is more. Don’t feel like you need to use your entire range of Christmas decorations. This year is a great opportunity to go through your storage and get rid of the old decorations, especially the broken or damaged ones. Then decide which pieces to use from your collection. Switching it up will ensure the season feels fresh and exciting each year.
2. Stick to a theme throughout the house. You can start at the entrance with a wreath, following on to the main Christmas tree. Use the same colour palette and style of decorations above the fireplace, on shelves and use wrapping paper that matches your colour scheme to really pull it together.
3. Limit yourself to two colours to create a professional elegant look. Colour combos that are on trend this year are: green, brushed gold & white, blue & white and blue & silver. It is even better if you can use colours that exist in your current decorations, so the end result looks like it was specifically designed for your space.
4. Christmas smells are one of the most important steps to creating the right atmosphere. Scented candles, cinnamon sticks and cloved oranges will deliver a fresh warm hint of magic during the season. On special days, like Christmas parties, I like to bake apples in the oven, they become a delicious treat and will make the house smell good all day.


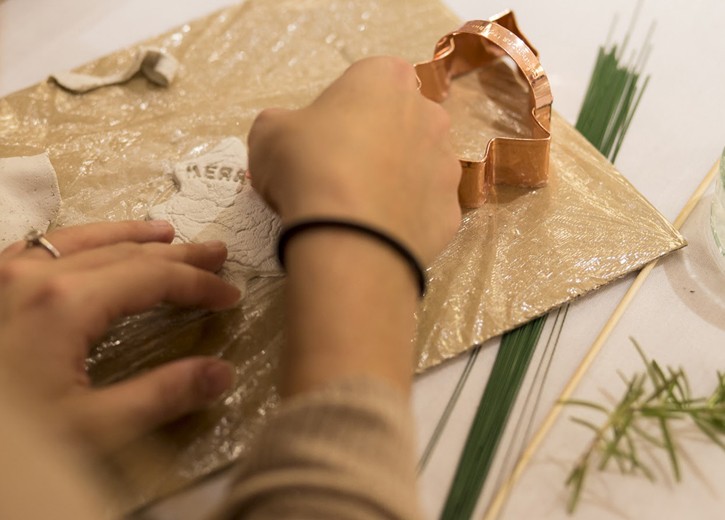
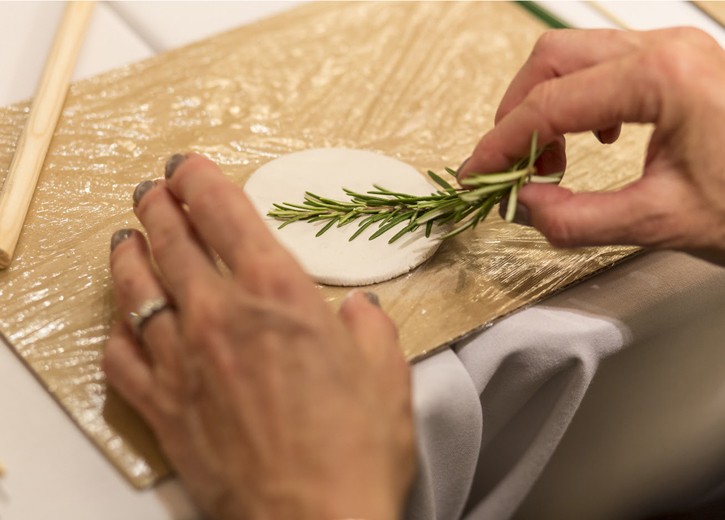
After Mathilde enlightened us with those great ideas, we started the first activity: DIY clay ornament making. There were a few steps to the process. First, we rolled out air-drying clay to 5mm thick. You don’t want it too thick otherwise it will take forever to dry. Next, we had the option to create textures on the clay. This is as simple as pressing pine needles, fabric, or letters into the surface. Then we used cookie cutters to cut the ornament into a shape. If the cookie cutter doesn’t make a clean cut, just dip your finger in some water and run your finger around the edge to smooth it out. Remember to punch a hole at the top so you can hang it from your tree. Now all you need to do is place it somewhere to air-dry for a few hours.


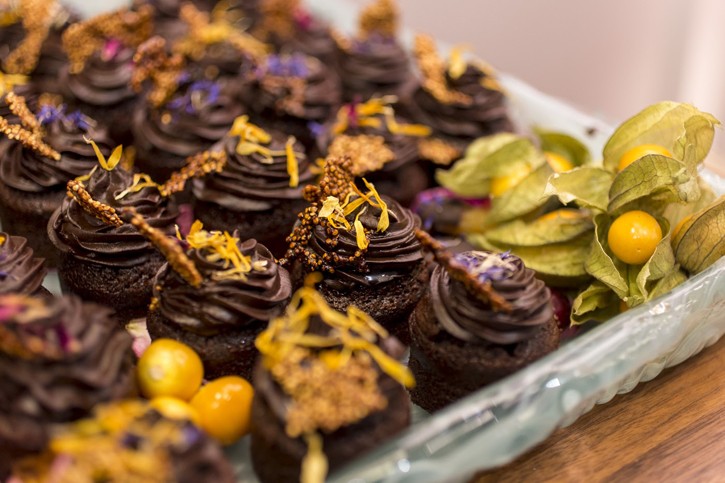
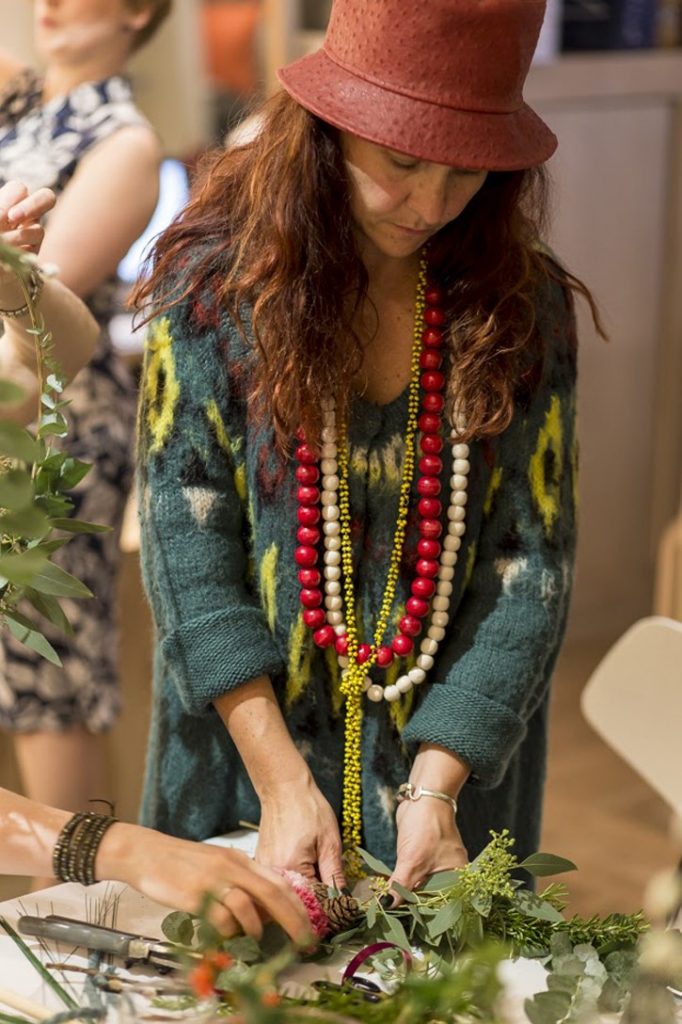
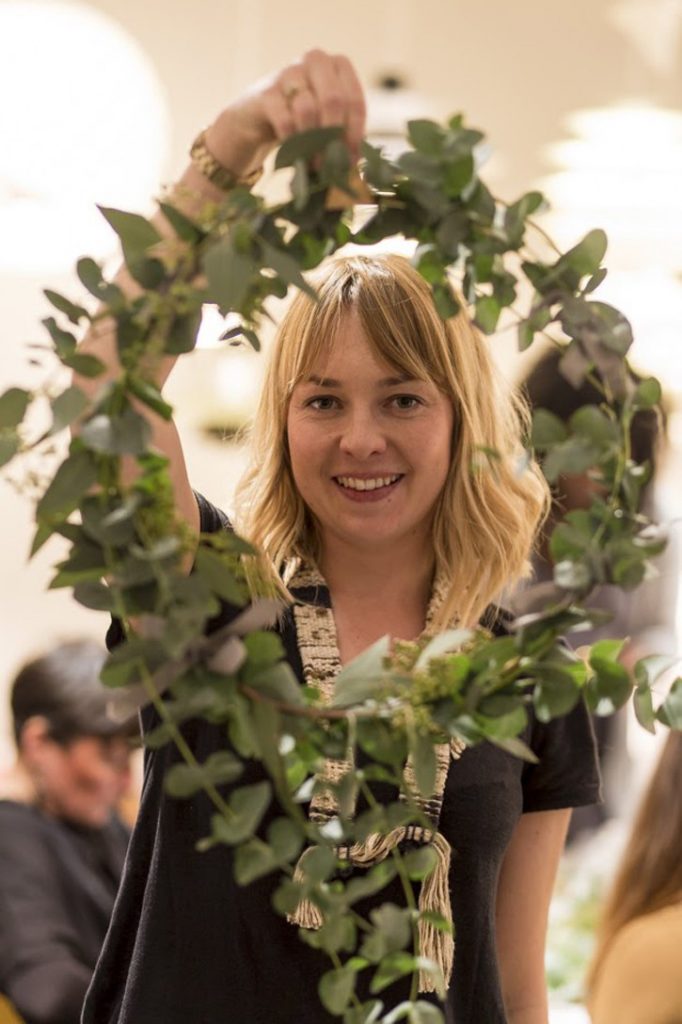
We took a short break with a beautiful array of nibbles from Cake and cucumber before moving to the second activity, which was making minimal fresh wreaths. Strups was nice enough to gift rings to us to begin the wreaths on.
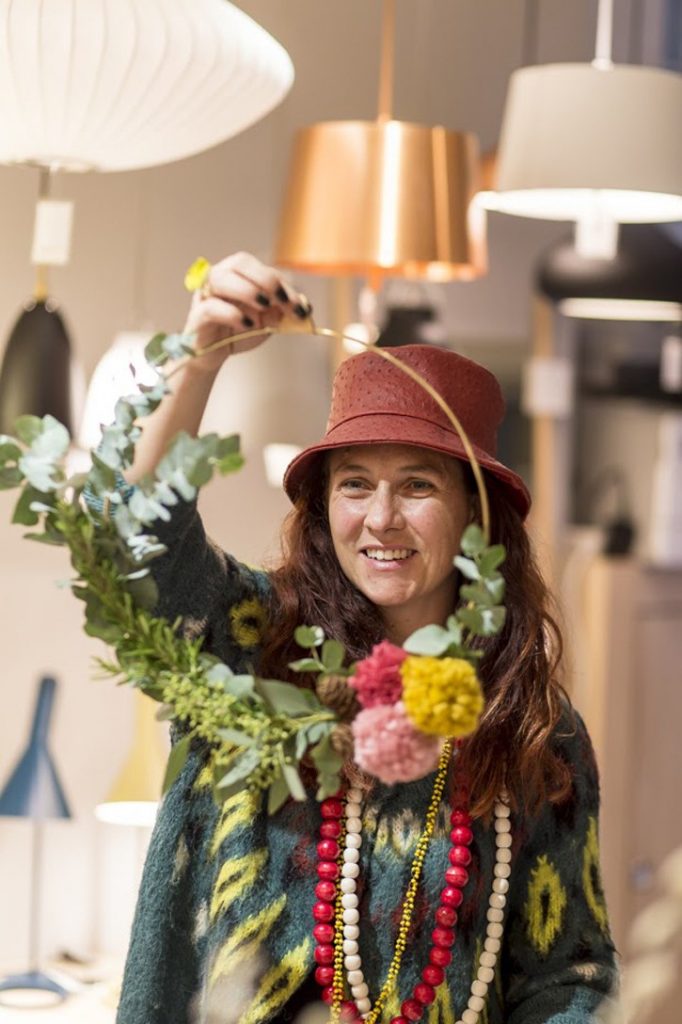
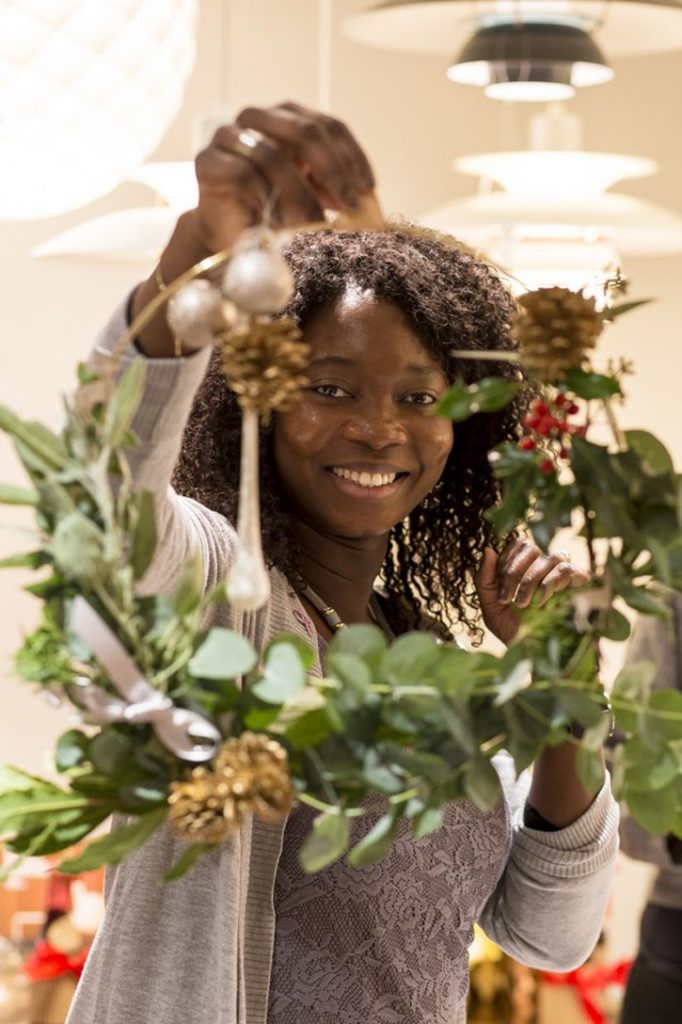
After our beautiful wreaths were complete, Mathilde spoke about personalising gift wrapping. Here are some of her helpful tips:
- At the start of the Christmas season, wrap boxes or books with colors from your theme and place them under the tree. This creates the finishing touches for your design scheme and hides the unsightly tree stand.
- If you have used wallpaper in your home décor, think about using any leftover paper to wrap your boxes. It is a really good way to tie in your Christmas décor with your current scheme. It is also super sturdy, so you can reuse the boxes every year!
- You can add pretty much anything to gifts to take your wrapping to the next level. Some options are leather, string, tags, stamps or buttons. Add fresh greenery for a sophistication. Herbs are a great choice because they give off a stunning scent. You can also add the clay ornaments we made earlier. Just remember to stick to your colour scheme and have fun with it.